Spinify allows you to integrate into your Zendesk instance and pull activity data which is turned into Competitions on the office TV, mobile devices, or on your web browser. The setup takes minutes and can have you motivating service staff, closing tickets faster, and having fun at work.
1. Go to the Integrations page
- Log into your MySpinify account.
- From the left-hand menu, click "Settings" then "Integrations"

2. Connect Zendesk with Spinify
- Select "Connect" on the Zendesk tile.
- A window will pop up.
- Copy the Credential Code, you'll need this for step 4
3. Install the Zendesk App
- Go to the Zendesk Marketplace and click Install
- Follow the Zendesk walkthrough installation steps.
4. Configure Zendesk App
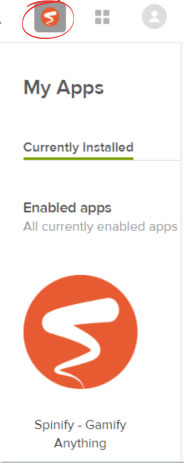
- After installation, a Spinify Icon should appear in the top right corner in Zendesk.
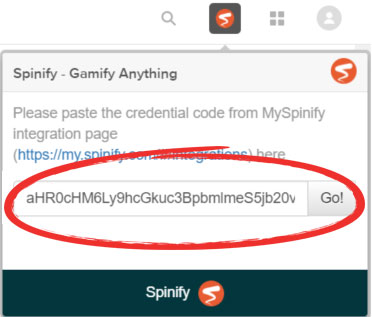
- Click Spinify Icon
- Paste in the code that was given to you during Step 2.
Notes:
- If you have not created your MySpinify users yet, see: How To Add Users.
- Your Spinify Users MUST have the same email addresses as your Zendesk Users for the integration to work.
Your Zendesk is now configured to sync tickets when they are created, updated, and closed.
You can start your Spinify journey now by adding a Competition.
Note that Zendesk Tickets appear as "Cases" in Spinify.