Spinify's User Mapping page makes it easy to manage how your users are mapped to your connected integrations from one convenient location.
This is useful when you need to ensure the correct Spinify user is associated with the corresponding user in an integrated platform.
Create a User Mapping1. Open Users
Log in to MySpinify and, from the left-hand menu, navigate to:
Team → Users
2. Open User Mapping
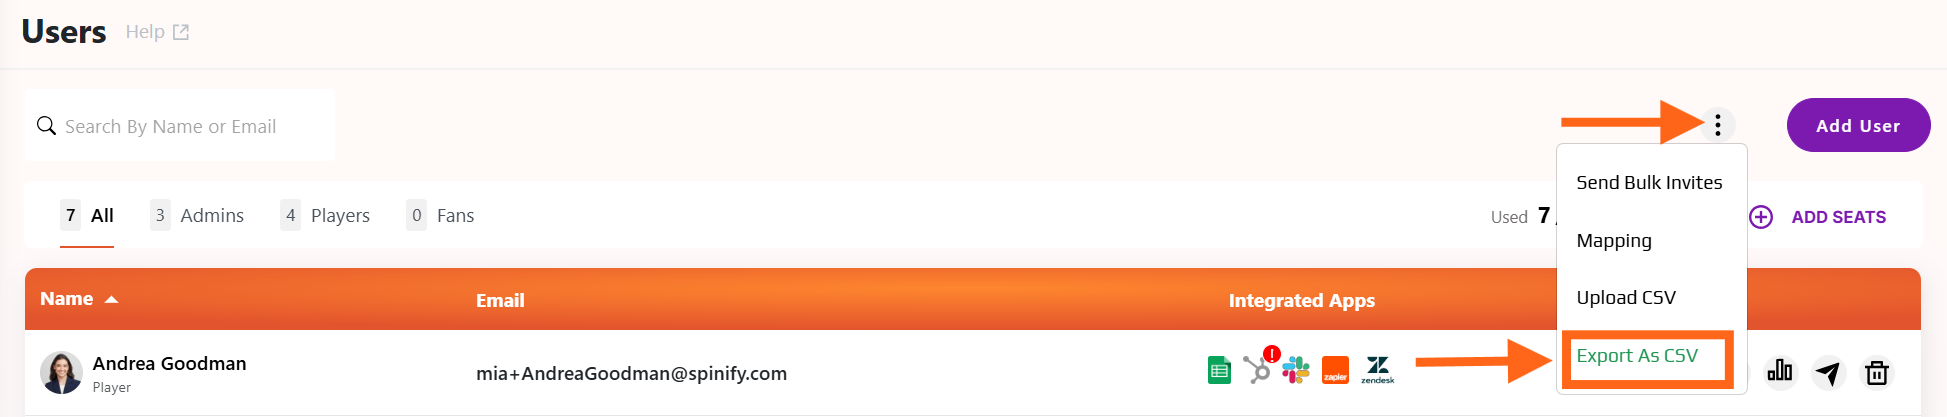
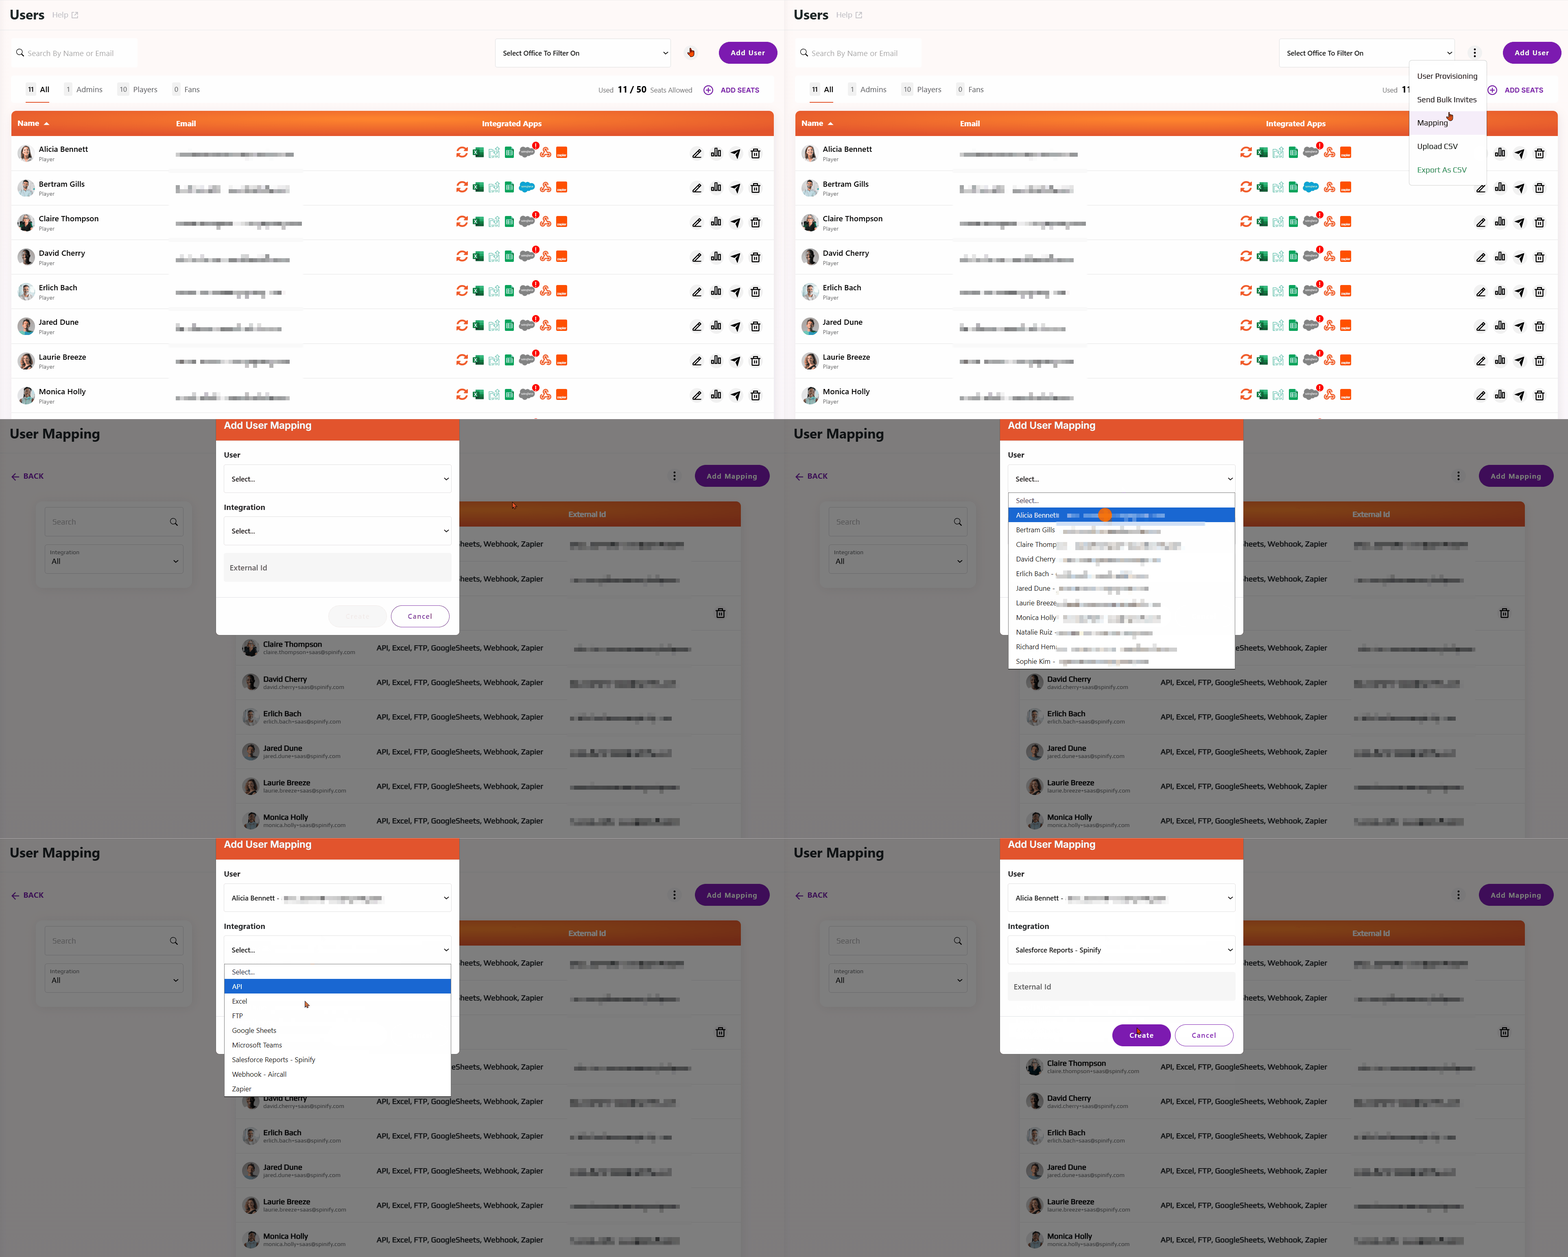
Click the three-dot menu and select Mapping.
This will open the User Mapping page where you can manage mappings for your connected integrations.
3. Create a New Mapping
Click Create User Mapping.
4. Select Your User and Integration
Choose the Spinify user you want to map, then select the relevant connected integration and corresponding integration user.
Double-check your selections to make sure the correct accounts are being connected.
Insert the External ID, if required.
Keep in mind that the same external ID and integration combination cannot be linked to multiple Spinify users. If that combination is already mapped, you'll need to use a different external ID or select a different integration user.
5. Create the Mapping
Once you're happy with your selections, click Create.
That's it! 🎉 Your user is now mapped to the selected integration.
You can return to the Mapping page whenever you need to manage your user mappings, making it easier to keep Spinify and your connected platforms working together correctly.
Need to Export Your User Mappings?
To export your User Mapping data as a CSV, select the three dots menu from the Mapping page, then select "Export and CSV"